In last week’s Thing, we looked at creating videos. As you’ll have seen, it’s easy to produce some great content with a little bit of time and effort. The same is true with images. Even if you’re not particularly artistic, some of the 21st-century tools can help you produce eye-catching graphics in a matter of moments. You can use them to liven up your writing, to promote your work on social media, or to complement your other digital activities.
Let’s investigate a few of the tools and explore the possibilities.
Creating images
It’s fair to say that Canva has greatly improved web graphics over the last few years. This free online app allows you to create images based on a range of templates, such as Twitter headers, flyers, and ebook covers. Through the simple interface, you drag and drop components and incorporate stock images to build your design. There’s a good choice of free images, or you can pay a small amount of money — typically $1 — to use a premium image. Once you’re happy with the result, you can share it on social media, or download the file for use elsewhere.
Here’s an example of a social media image that took seconds to produce. It’s much more conspicuous than a text-based tweet and is far likelier to get retweeted.

Using a Canva template for your Twitter or Facebook header can make your social media presence look more professional and consistent. You can use the space for whatever you like: images from your research, a photo of you working hard, or an inspirational quote. Canva is available as an iPad and Android app, too.
If you want to create more sophisticated images – especially for print – then you’ll need a full-featured graphics tool. Before making a choice, it’s important to understand the difference between the two types of image: bitmap and vector. A bitmap image (also referred to as a raster image) comprises a pattern of dots. If you’ve ever zoomed into a photo, you’ll have seen how this works. The greater the magnification, the more pixellated (or dotty) the image appears. This is why you need a high-resolution version to achieve good quality across different sizes. High-resolution means there are more dots, so it won’t get distorted when you change the dimensions.
A vector image uses geometrical formulas to create paths and shapes. Consequently, this type of image is completely scalable and won’t look rubbish, even if you make it three-feet wide. The standard file format is Scalable Vector Graphics (SVG). This is the ideal format for company logos, as you can easily scale the artwork from a letterhead through to a billboard poster.
The Inkscape logo (created in Inkscape, of course)
Tools such as Canva use both bitmaps and vector. So, the background image might be a bitmap, then you use vector to overlay it with text and shapes. However, you can’t download this image as SVG, or increase the size dramatically. If you require this level of control, you’ll need a dedicated vector graphics editor. The best-known editor is Adobe Illustrator, which has become the industry standard. Although it’s expensive to buy, you might have access to the Adobe Creative Suite through your university. It does take a while to learn, but there are good tutorials online, especially on Lynda.com.
A worthy alternative is Inkscape, a free open-source vector graphics editor that works on Windows, Mac, and Linux. You can use it to trace existing bitmap images and make them more flexible. There’s a lively Inkscape community and plenty of tutorials to help you get going.
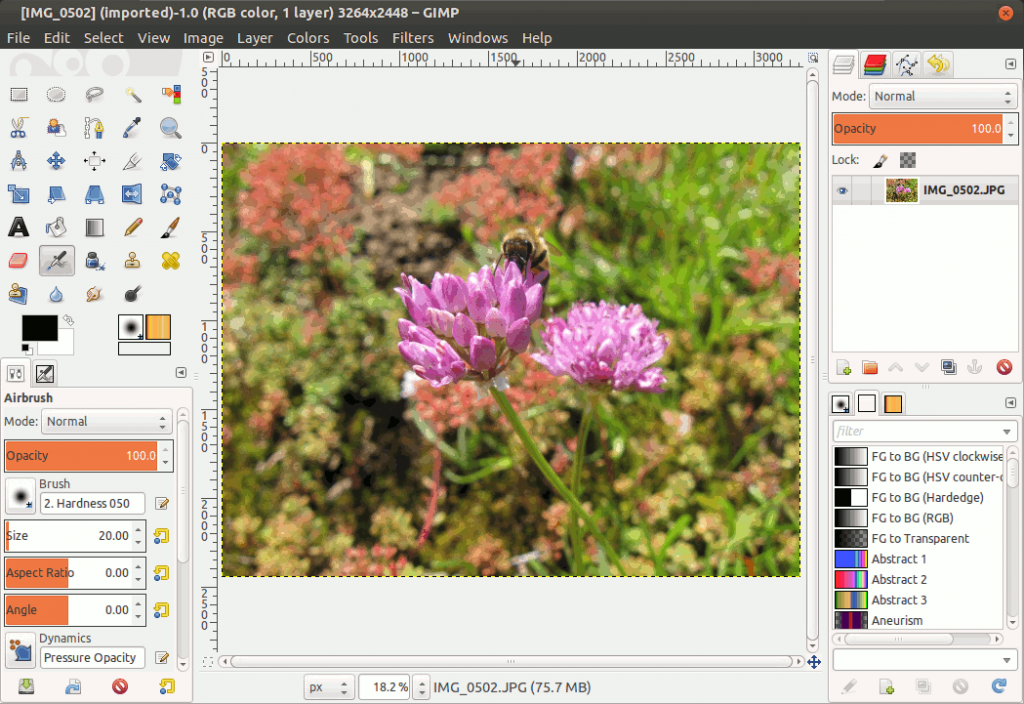
For creating and editing bitmap images, you’ll want a tool like Adobe Photoshop. Again, this is an expensive option if you don’t have access through your university. Happily, there’s are some free alternatives. The most popular is GIMP (click the link, don’t Google it), which works on Windows, Mac, and Linux. It doesn’t boast all of Photoshop’s features, but that actually makes it easier to use.
You’ll find heaps of tutorials on the website. If you get really proficient, you can help the project by contributing user guides or even extending the code.
Conclusion
Creating professional-looking graphics takes time and dedication. However, even grasping some of the basics will help expand your digital capabilities.
Perhaps you’d rather use other people’s images? If so, there are dozens of online libraries offering high-quality illustrations and photographs. Next week we’ll look at finding and curating existing images.
In the meantime, here are the suggested activities for this Thing:
- Create a social media header in Canva and upload it to your profile.
- If you created some video content in previous weeks, try creating a title screen and closing credits in Canva, GIMP, or Photoshop. You can add still images in video editing tools such as Camtasia and OpenShot, which we covered last week.
- Experiment with creating a vector image in Adobe Illustrator or Inkscape. For inspiration, visit this vector library.
As ever, please let us know how you get on by tweeting @CHASE_DTP with the #23Things tag.